Banner Sponsors


For artists and collectors sponsored by Intercal...your mohair supplier and Johnna's Mohair Store
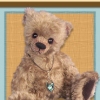
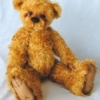
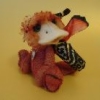
 Back Road Bears
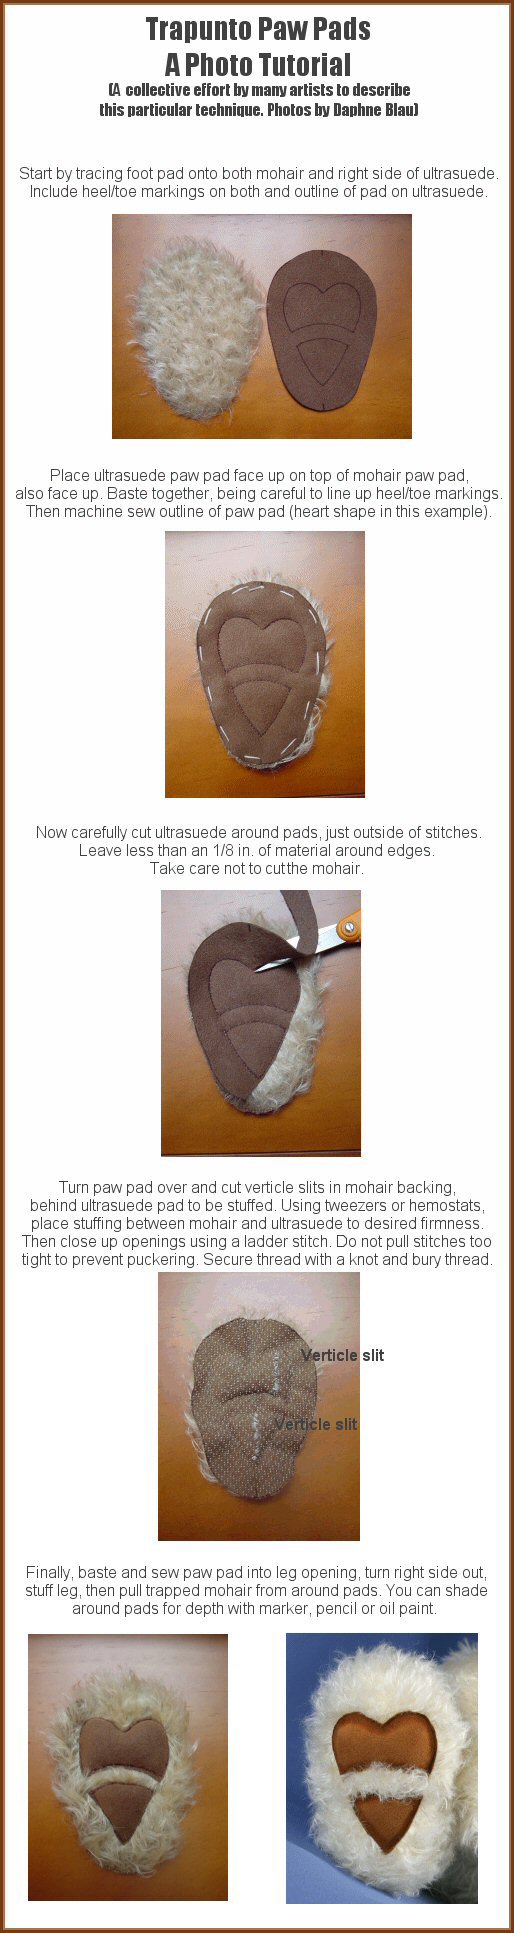
Below is a photo tutorial I just 'threw' together as a guide for doing simple trapunto.
I learned this technique through the explinations provided by many of our talented artists here on TT. In particular Shelli Heinemann and Tami Eveslage, though many have offered great tips on doing trapunto!
The only parts of this tutorial that are mine are the photos.
I'm sure I could have provided a much more detailed description and more photos but this will give you the basic idea without overwhelming you. It truly is, in my opinion, quite simple to do, it just takes time and patience.
Questions? Clear as mud?
 Tami Eveslage Original Teddy Bears
Excellent, Daphne!  Clear as glass!!! This is a combination of two quilting techniques ---trapunto and applique. May I add something that I have found helpful as well?
I find that it is easier to sew the foot pad to the bottom of the leg after sewing around the toe shapes, but before slitting and stuffing them. I use a sewing machine to sew the feet in and there is less bulk to wrestle with that way. Then you can just slit the backs, stuff the pads and stitch them up before you turn the whole leg.
Back Road BearsTami, I totally agree.
BUT.... I have this thing about SEEING the pads as I stuff them which becomes a pain if the foot pad is already attached to the leg because I have to keep turning it right side out and then wrong side out again. I use a presser foot and needle setting on my machine that makes it fairly easy to sew foot pad to leg after pads are stuffed... just don't ask me what the name of the foot is! 
 Posts: 3,540
I'll echo the clear as glass bit  !!! Actually I hadn't thought at all of doing the toes this way, and I was getting utterly confused as to how to make the placements correct. Don't even ask how I've been struggling with my appliqued toes
  Its massively complicated
I'm another one who likes to do the stuffing and get it all done before putting foot to leg, but will admit, there's a fair amount of distortion on the pawpad after its been stuffed (at least for mine) so I have to take extra care when putting the foot to leg.
 Apple Dumpling Designs
:clap: :clap: :clap:
Great tutorial Daphne...you rock!!!!
 Past Time Bears
What a great photo lesson, Daphne! :clap: :clap: :clap: :clap: :clap:
AWESOME!!!!!!!!!!!!!
 Palmerston North, NZ
thanks for the clear tutorial  everything makes much more sense with pictures
 Waggle Bears
Thanks, Daphne, that's really well explained, but the photos make so clear. Thank you very much.
 Brisbane
Thankyou very much for the tutorial! It makes things so clear!! :clap: :clap: Thanks for sharing.
 FenBeary Folk
Those photo are perfect and very easy to follow, I had just decided to give this a go on my next bigger bear, so your timing is spot on :hug:
I'm just back from a week of vacation with family and this is a treat to return to. Wonderful tutorial, Daphne. May I borrow it for my blog (with credit to you, natch)...?
Back Road BearsGlad you all find this clear and easy! There are so many shapes/sizes/designs you can do with this technique... the heart was appropriate for the series of bears I wanted to make... but experiment.... come up with your own look!!!!
Shel - of course you can borrow it! I even fixed my typo for you!
 q.D.paToOtieS
Wow, Daphne! That is so much easier when I SEE it. I'm such a visual learner. Thanks so much for putting that tutorial together! You're the best!!!
 Terries Bears
Thanks Daphne, what a good tutorial, your photos are great!!
 Chowlea Bears
Thank you so much for the brilliant tutorial.
Something else I have to master :doh: :doh: :doh:
 Creative Design Studio (RKR4CDS)
Great Tut, Daphne,
DH sent you those Maine pix from his computer - I have to say that the thistle, Fred & irreverent moose was his, I did the fungus/ mushroom as I'm the kind to get down on my belly to shoot! I left milkweed in the garden after a bird 'plated' it last year: had to pull out MANY this year. Just before that, Sue Ann showed her Auntie birthing and I left a small stand hoping we'd have chrysalises too. So far, the monarchs are feeding on the Purple Coneflowers but now eggs or larvae yet. I may turf them all out before pods set if we don't get to become Auntie & Uncle, or let them pod up but move the pods to the nature area at the end of our block....
You will have thistle taking over that bed next year, unless you control the # of seeds spread.....
Are those Fritillaries? I've forgotten the butterflies' name.
Question on the trapunto: did you brush the mohair nap into or out of the heart's seaming or just leave it alone until the final brush-out fluffing?
I'd done the trapunto from the back, but never thought about an applique process. Thx for adding to our collective knowledge base!
 Yorkshire
Dear Daphne, thank you so much for finding the time in your already hectic schedule for doing this brilliant tutorial. I'm going to attempt a bigger bear next so I can have a go. 
Hugs Ali x
 Brisbane
Thank you Daphne!! 
Back Road BearsBobbie - I left the mohair alone when stitching the pad shape on the machine. I shade the edges of the ultrasuede once the bear is all stuffed. I find it easier to do the shading THEN pull the mohair from seams ... this way it's not in the way during shading. I use my awl for pulling mohair from seams... don't want to get the ultrasuede with a brush and depending on the shape you do you may have small spaces in between pads so the awl or blunt end of a doll needle works great! And in regards to the photos... I'm the one who crawls in all sorts of undergrowth, rolls around on her belly and gets in all sorts of contorted positions to take photos so I totally understand!
Ali - you are most welcome!
Daphne,
Wonderful tutorial!!! I'm also a visual learner and this has cleared up some of the problems I was having understanding the written instructions.
Thanks so much!!!
Hugs,
 Matilda Huggington-beare
It wasnt as clear as mud at first for me.. I was totally confused. Then I read all the flattery and wondered if anyone had actually stopped to read the tutorial. So I went back and reread and saw where you had lost me. It was the sewing of the padding suede on the' outside' of the foot. It's actually a very simple way of getting a great effect.
It really is wonderful that you have spent so much time into arranging this to share. :clap: :clap: I learnt something today. Which was unexpected Thankyou Daphne
I do my trapunto paws differently. But I did until recently I stuffed before sewing them to the leg. I found it too hard on my knuckles trying to hold the pad and the leg fabric while sewing so decided to wait until after the pad is sewn then stuff.
Wendy :redface: :dance:
Tami Eveslage Original Teddy BearsIt was the sewing of the padding suede on the' outside' of the foot. It's actually a very simple way of getting a great effect.
Wendi, this is different than traditional trapunto which puts the extra fabric on the back. It does make a nice pawpad effect.
that is stunning daphne
cat xxxx
Back Road BearsWith 'traditional' trapunto if I am correct, the whole foot pad is one material with individual pads that are raised. For instance, the entire foot pad is ultrasude backed with muslin. You'd then stitch the outline of the individual pads on the ultrasuede, stuff the individual pads through the backing/muslin then shade around the little pads for definition. Again, the entire foot is just ultrasuede. Am I right? The look of the paws in my tutorial could not be achieved (mohair around pads) right?
Could a reverse applique be done where the ultrasuede was underneath then the top fabric (mohair in this case) cut away to expose the ultrasuede under once the outline stitches of each pad had been done? Then you'd have to fray check the mohair backing and likely not have clean edges.
Enilghten me.... please!