Banner Sponsors


For artists and collectors sponsored by Intercal...your mohair supplier and Johnna's Mohair Store
 Posts: 27
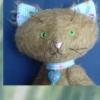
I'm been working on my first plush--a cat, and I'm trying to figure out how to attach his hind legs so the stitches don't show.
He's in the sitting position, so I don't think it makes sense to joint them. But I really like the look of external legs, instead of a 'gingerbread man' shape.
I've been reading this board from a few months now, and I've learned SO much here. But since I didn't see this addressed anywhere I thought it was time I buckled down and asked a question!
Thanks so much.
 Flying Fur Studios
I would just use the same stitch you use to close up the seams once stuffed, I think it's called a ladder stitch.
Posts: 27It's a big cat leg, hip and all like when they're sitting down. I tried it on a muslin but they came out really uneven and weird.
Sorry, I'm new at this. :redface:
what did you try on the muslin ?
cat xxx
Posts: 27I tried ladder stitching the leg to the outside of the body. But the legs came out distorted & uneven.
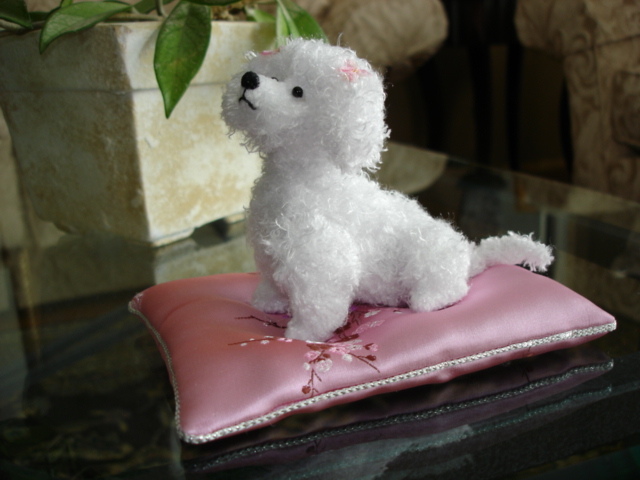
I know it is a bit awkward...but if you could try to put the ladder stitching underneath the edge of the leg... it would then look even more like a leg....you know how you see the edge of the leg when an animal is sitting...but you don't actually see where it is attached? You can slide your finger in between the top edge of the leg and part way down til you feel any attached skin? The attached part is actually hidden down under the visible roundness of the top of the thigh. I don't know if I am explaining it so you can understand me.... . but hopefully you will get what I mean. Then...you don't even see the stitches...and don't pull it so tight that it distorts...if it is stuffed nicely...and you get the ladder stitching going around evenly...and pulled it just tight enough...it should not distort things... this is a mini....but perhaps you can see what I am talking about here..... 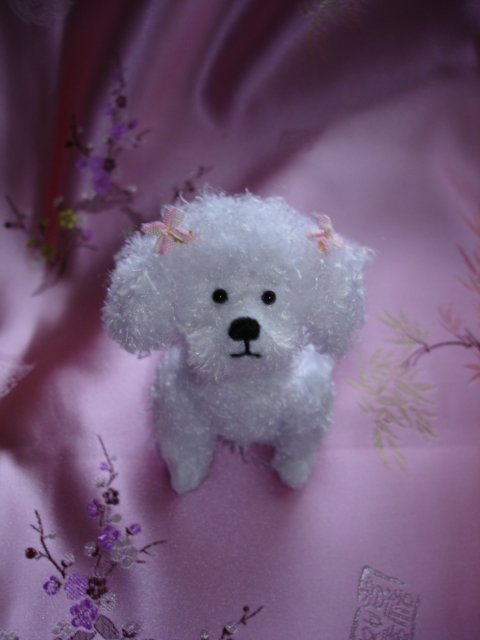
Also...just wanted to add here.... before I do the ladder stitch...I take a couple of good firm stitches through the inside of the leg to attach it first and get it to stay put in the exact spot I want it to be..and still have several tiny stick pins holding it till I get a good start on things or it will slide around while doing a ladder stitch
That's a great point, Veronica. I've been reading a lot of stuff on cloth doll making and the arms of many art dolls are firmly attached with stitching to the body rather than having a joint like bears often do. Usually they're attached with ladder stitch, as far as I've been able to tell, anyway. And Veronica, a maker of beautiful art dolls, re-iterates what I've read; that tacking stitches and pins are important in the process as well!
If I were attaching a "static" limb I'd use a ladder stitch because it's tight and mostly invisible. It's important to stitch consistently and to keep the stitches small especially if you're using a fabric like muslin but it can be done attractively. Stitches that are too big or that are uneven will look a bit "Frankenstein"-y, though. Maybe practice a little bit on a scrap, first?
Hope this helps!
 Cat Gabriel Crafts
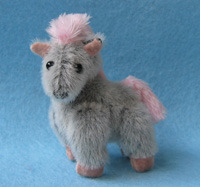
 Hi,
Hi,
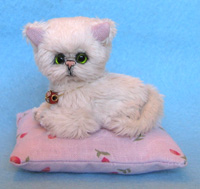
I'm not sure how big your cat is, but I use ladder stitch to attach everything (except for the head) on my mini cats (see pic). It works well. I pin everything securely in place and make sure the stitches are nice and tight. I also use this method for my mini horses.
Posts: 27I went home & un-and-reattached, and they came out A LOT better. I tacked it first with a couple big stitches, which I cut when I was done, and left about a half inch margin between the top, highest part of the leg, and my stitches. I'm not sure how invisible my stitches are, but I'm sure that'll get better with practice.
The muslin is scrap. I'm going to redo it out of a synthedic fur, but I wanted to work out any pattern tweaks before I started cutting that up. He's about 7" tall.
Would it help to mark the leg and/or the body before I start? Or do you ladies just kind of wing it?
Thanks SO much. You've already been a huge help!
I am not quite sure what you mean by marking the leg or body before you begin? do you mean as to where to attach the limb? Usually I wait til I have my body stitched and stuffed ...then see where and at what angle the leg needs to be attached in order for it to touch the ground in the right place to allow my animal to sit or stand properly. Don't want a leg cocked up in the air...lol
Posts: 27While I was sewing it I felt like it would have helped to have a stitching line marked. I just kind of estimated. I'm sure it's like anything else though: practice makes purrrrrrrfect. 
No I don't make any marks... just attach well with a few stitches into the inside of the limb... down low and even under where I do the ladder or attaching stitches. These are permanent stitches for me. I leave them in place. Then add some pins to make sure it stays right there.... then remove one pin, do a few little stitches and work my way around down inside the area removing a pin at a time as I go along so that nothing moves. Just take your time, do small stitches... make sure it stays exactly where you want and I can't stress enough...take your time.... sometimes it may seem a bit frustrating..but if you want it perfect...it all takes time. If it gets to you.... stop...... have a cuppa tea or something...then do a few more stitches... no hurry in your search for perfection. After a few you will get the hang of it...
Catherine, love your little guys. I will absolutely have to try making a tiny horse. they are so cute... and of course, still love little Smudge.
 I'm not sure if this helps or hinders?!
But I don't attach non-jointed legs. I cut into the pattern and add inserts to retain the smooth outline of the leg. Here's a copy of my cat cut-out pieces. It's hard to tell but the back legs are cut into the body and the back leg inserts create the legs. It takes some practice but it does create a realistic body shape. The very bottom pieces are the back leg inserts and there is a slit in the body pattern to accommodate the inserts.
Karen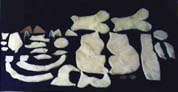
That is really interesting Karen... never would have thought of that. So... the pointy end is the insert bit and the other end is the little foot? hard to visualize, but whatever you do your cats are absolutely beautiful. My dogs are really just ...uhm.... whimsical...in comparison.... lol... well, there IS no comparison really... yours are amazing works of art.
This is a fun topic...we are learning a lot here.....
I'm opposed to marking lines, myself. My feeling is that if I start by eyeballing it, my skill will get better, while if I mark a line, then I'll become dependent on those lines to make it work - in stark contrast to when I'm making clothes, where lines are important, since clothes need to conform to a body shape.
Since you're already working in muslin, why not rip off several muslin legs and practice attaching them? Or just, you know, build more bears 
Veronica,
It's a little hard to visualize if you haven't attempted it. Imagine having a separate back leg that you are going to attach. Now imagine that the outer back end of this leg is already part of the pattern piece, and the thigh curve is sewn(using the insert piece), and all you have to do is sew the front inside of the leg insert to the belly to complete the leg. That's all you are doing. It's not only easier but because the pattern pieces are identical you never have to worry about the legs being in the right position.
Karen
Posts: 27My first pattern had the hind leg incorporated into the body piece, but clearly I did something wrong because it looked more like a blob than a leg. Lol.
I may have seen bears on all fours with similar legs. The outside is a continuation of the back piece, and the inside is a seperate piece attached to the belly.
I can see how that would be easier to sew. Maybe I'll try again and see if I can get it to look less awful.
However, it's good to know that a seperate piece, ladder stitched on is an 'acceptable' way to do it if I can't.
I'm on my 4th muslin. It's been great practice, both for my sewing and understanding how things come together. I just start to wonder if I'm going to live to see it to fruition. 
 Matilda Huggington-beare
I'm on my 4th muslin. It's been great practice, both for my sewing and understanding how things come together. I just start to wonder if I'm going to live to see it to fruition. :P
I'm laughing with you....I can see exactly where you are at. :hug: It is somewhere we have all been.
Wendy :hug: